
Create an architectural render with ChatGPT while preserving your design
Prepare references, define fixed geometry and review edits. A method for requesting a faithful render, with an example and a ChatGPT skill.
By Educasium
Download the ChatGPT faithful architectural rendering skill →
To request an architectural render from ChatGPT, start with an image of your design and describe the permitted transformations. “Make this house more realistic” leaves too many decisions open: identify the volumes, openings and framing to preserve, then the materials and lighting to change.
The Faithful architectural rendering skill formalizes this method. Its name describes a working objective, not a guarantee of geometric accuracy: a generated image remains an image, never a measurable document. This article covers preparation and review; the skill page provides download and installation steps.
Summary
- Choose a base that describes the design
- Give each reference a separate role
- Prepare a render request step by step
- Compare geometry before judging realism
- What the image cannot guarantee
- What we observe among architects testing AI rendering
- When this skill is not enough
- Train to bring image tools into your practice
- Frequently asked questions
Choose a base that describes the design
The choice of base determines everything else in the request: a source that does not fix the volumes cannot produce a render that respects them, however well the following prompt is written. Identify what your document actually describes before describing what you want to get out of it.
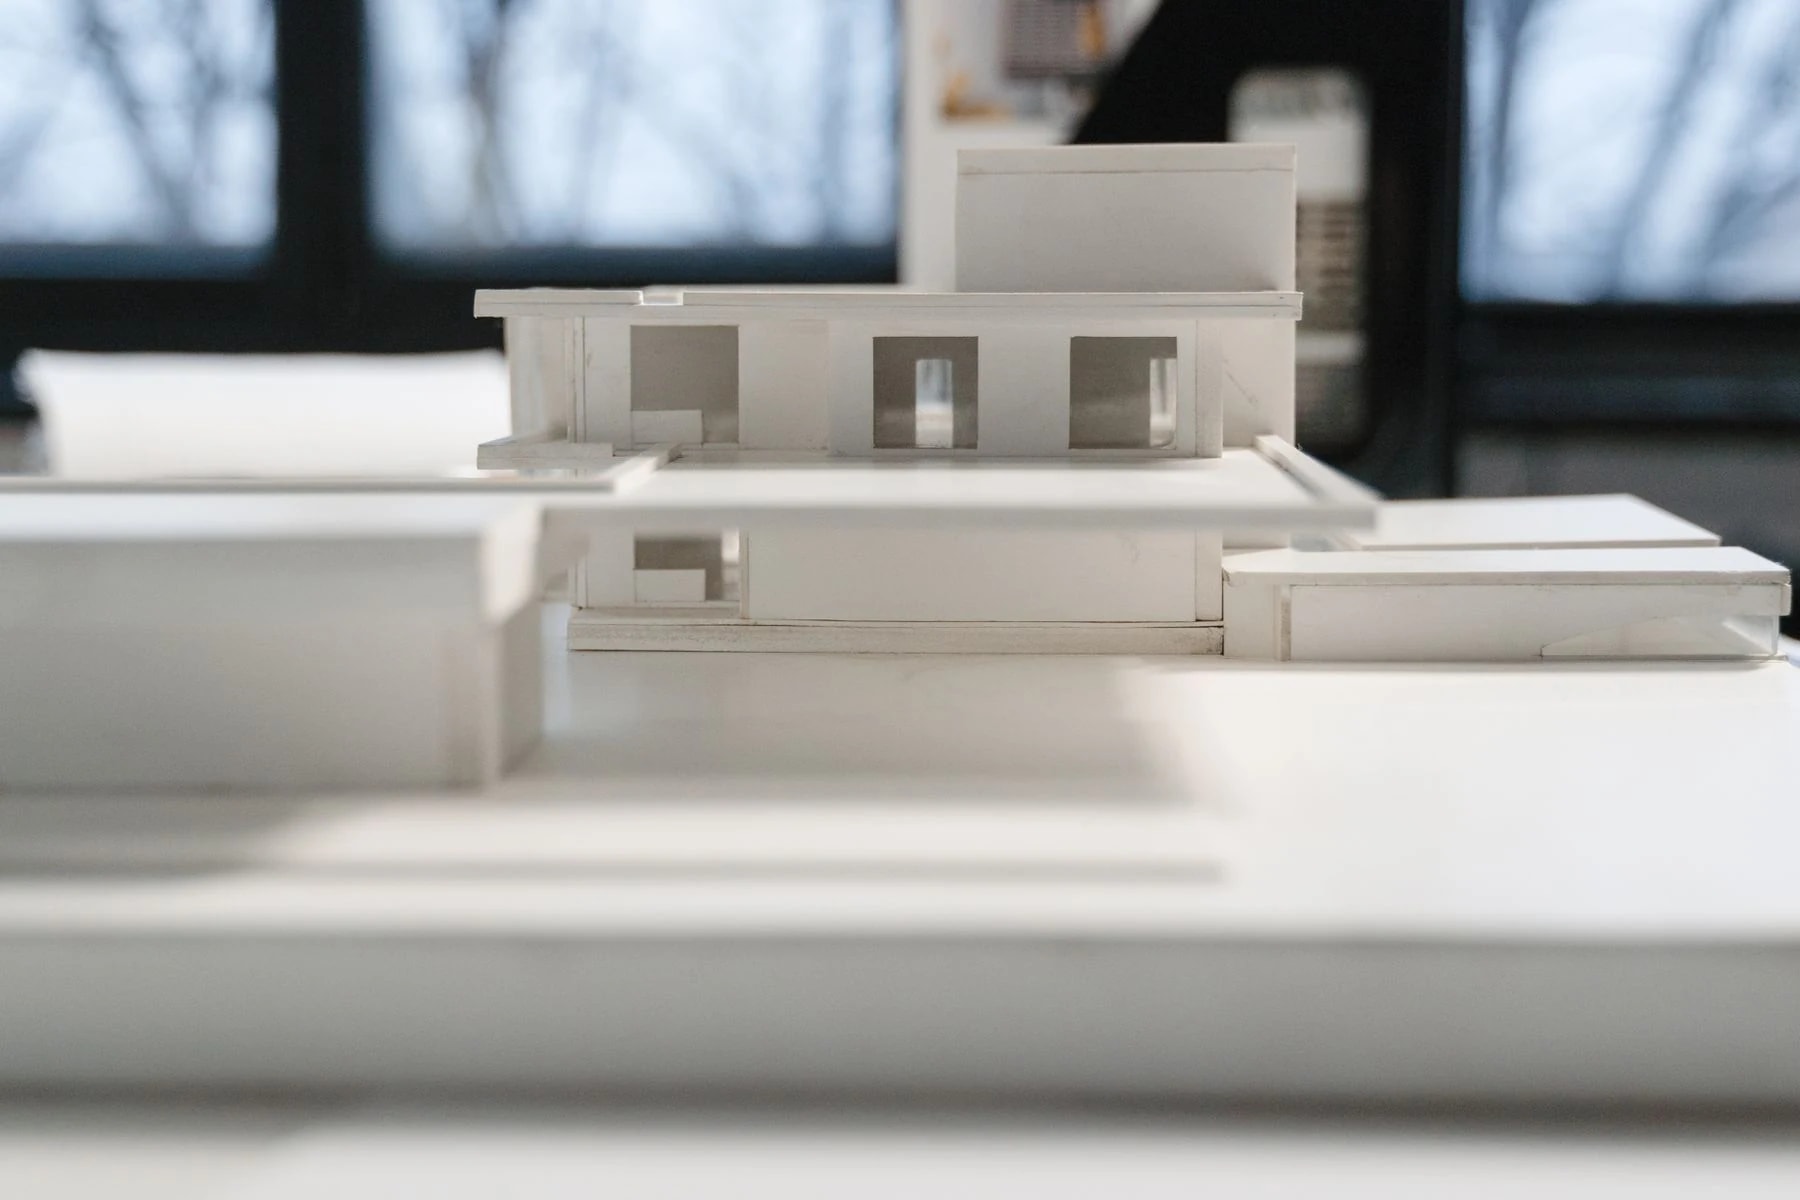
A perspective or clay model supplies a silhouette, camera angle and relationships between volumes. A sketch may leave materials undecided while fixing window positions. A 2D plan describes a layout but may not establish heights, elevations or roof geometry.
What each source type usually fixes, and what it leaves open
| Source type | What it usually fixes | What it leaves open |
|---|---|---|
| Perspective or clay model | Silhouette, camera angle, volumes | Materials, colours, finishes |
| Sketch | Openings, overall composition | Materials, level of detail |
| 2D plan alone | Layout, siting | Heights, elevations, roof |
Choose the applicable version before generating
Choose the source that defines the geometry to preserve. Where files show different versions, identify the applicable version before generating. For an interior, specify an eye-level perspective or a cutaway dollhouse view. Information absent from the plan should remain an identified assumption, never a silent decision made by the model.
Give each reference a separate role
Mixing geometry and style in the same request produces results that are hard to correct, because it becomes unclear which reference is responsible for which deviation. Labelling each source by function avoids this mix from the moment the prompt is written.
A mood image can guide timber colour or soft shadows without authorizing the use of its building. Label references by function to avoid mixing geometry and style.
| Source | What it should contribute | What it does not determine |
|---|---|---|
| Project sketch | Visible volumes, openings and composition | Unspecified materials |
| Material palette | Colours, textures and finish | Wall or window positions |
| Mood photograph | Light direction, contrast and colour | Project architecture |
The skill asks for visible elements to be preserved and changes to stay within the request. This discipline helps produce instructions you can check. It does not remove the need to inspect the resulting image.
Prepare a render request step by step
Writing the request in a fixed order — fix, transform, verify — limits the risk of an ambiguous instruction that the model interprets its own way rather than yours.
Step 1: Choose and name the geometric base. Select the source that fixes the volumes, openings and framing, and set aside competing versions of the same design to avoid confusion.
Step 2: List the fixed elements before the changes. First describe what is locked: storey count, silhouette, roof, openings and viewpoint. This list should read on its own and be enough to spot a deviation in the result.
Step 3: Describe only the expected transformations. State only the changes you want — materials, colours, light — without piling on style adjectives that make the request hard to verify.
Step 4: Flag areas missing from the base instead of letting them be guessed. An undocumented elevation or height should be flagged as such in the request, so the result does not present an invention as project information.
Step 5: Generate, then compare before adjusting. Produce a first image, compare it point by point against the base, and request only a targeted correction rather than a fresh full generation that puts everything back in play.
The following brief is fictional and intended to prepare a trial. It does not correspond to an image generated or validated in this article.
Base: a sketch of a two-storey house seen from the southwest corner. Preserve the volumes, every opening, roof and framing. Change only the façades to matte white render and use neutral natural light. Do not add balconies, openings or floors. Flag unreadable areas before deciding on a transformation.
Before sending a similar request, check that those elements actually exist in your image. Copying this example onto a single-storey sketch without adapting it would create contradictory instructions.
Compare geometry before judging realism
A render that looks convincing at first glance can shift a window or alter a proportion without the eye noticing immediately: the comparison should therefore focus on geometry first, and on mood only afterwards.
Open the source and result side by side. Compare silhouette and storey count first, then roof, stairs, opening positions and proportions. Check camera, framing and elements near the edges. Finally inspect materials, shadows, reflections and texture scale.
If a window has moved, convincing lighting does not compensate for the error. Describe the defect precisely and return to the last accepted version. OpenAI's own documentation on images in ChatGPT states that selected areas are not always respected with precision and that an edit can extend beyond the selection: also inspect the parts that were meant to remain unchanged, not only the edited area.
Compare furniture alternatives
To test two sofas, keep the same base, lighting and framing. Request one model per image. Changing the floor, exposure and furniture together makes it impossible to attribute a preference to the sofa alone. A product whose reference was not inspected should not be presented as an exact reproduction.
Move to a wider format
Ask for the house proportions to remain unchanged. Cropping may remove context; extending the frame requires deciding what appears outside the original view. If that area is undocumented, state the limitation instead of presenting invented architecture as project information.
What the image cannot guarantee
A generative image remains, by nature, a visual render rather than a technical document: it does not preserve exact dimensions, produces nothing measurable, and its result never replaces a drawing or digital model for checking a measurement.
A generative image does not replace a CAD or BIM model for checking dimensions: no length, height or angle read off a render should be treated as reliable, even when the image looks consistent to the eye. Use design documents to verify geometry and placement. A render can support mood exploration or discussing an intention with a client; its use should match what has actually been checked, and it should never be presented as a technical validation of the design. Generation and editing also depend on the image tool actually available in your session; if you ask only for a prompt without an active image tool, you receive written instructions, not evidence that a render was produced.
What we observe among architects testing AI rendering
In our exchanges with architects testing image generation for the first time, the difficulty is almost never technical: producing an image is not a problem. What takes time is learning to write a request precise enough for a geometric deviation to be spottable, and resisting the temptation to approve an appealing render without comparing it point by point against the base. That is a matter of method and verification, not a lack of creativity — and it is exactly what this skill frames, without ever guaranteeing the fidelity of the result on its own.
When this skill is not enough
A generated render, however carefully prepared, does not cover every use of a project image. For a reasoned critique of a plan, section or render already produced — rather than generating one — the Design-Critic skill and our method for critiquing an architectural design with Claude address a different, complementary need.
To precisely describe a design's materials and finishes in a written document rather than an image, our method for preparing an architectural project description with ChatGPT handles that case with the same sourcing standard. Finally, as soon as a permit, costing or contract decision depends on a dimension or a material, the render should be set aside in favour of the cited drawing, never used as evidence in its place.
Train to bring image tools into your practice
Setting an image-generation method once is not enough: you also need to keep it working project after project, without turning an appealing image into technical proof. For an architect practising as a self-employed professional (NAF code 7111Z in France), the FIFPL fund covers part of the cost of Qualiopi-certified training under 2026 criteria set at €300 per day and €900 per year, with e-learning capped at 50% of the daily rate. This funding must be arranged before training starts, not after.
Training fundable up to 100% depending on your eligibility (OPCO/FIF PL). Qualiopi-certified programme. To bring AI image and document tools into your practice as part of our AI for architectural management training, contact Educasium and specify your status (employee, self-employed, business owner) and your goal.
Frequently asked questions
Can you start with only a plan?
Yes, as the basis for a representation, provided you distinguish what the plan describes from unresolved choices. A missing elevation or height does not become known because an image looks plausible, and should stay flagged as an assumption until another document confirms it. A plan alone rarely fixes materials and light: plan to complete the request with a material palette or mood reference if those elements matter for the image's intended use.
Does the skill itself produce images?
No, it supplies instructions and a preparation method, not a generation engine of its own. Generation or editing depends entirely on the image tool available in the session used. If you ask only for a prompt without an active image tool, you receive written instructions, which is not evidence that a render was produced. To try the method, download the skill from the linked page and use a base whose elements you can verify.
Can a generated render be used for a planning-permission submission or an official client file?
No, not as a technical document: a generated render lacks the dimensional precision required for a permit submission and does not replace any regulatory drawing the administration expects. It can, however, accompany a client file as a mood illustration, provided it is clearly presented as such and never implies verified measurements. Any document requiring an exact dimension must come from the drawing or digital model of the design, never from a generated image.
How can you tell whether a render has altered geometry without it being immediately visible?
The only reliable way is to methodically compare the source and the result element by element, rather than judging the image as a whole: storey count, opening positions, volume proportions and framing should be checked one at a time. A discreet shift of a few centimetres in an opening, or a slightly reinterpreted roof, often goes unnoticed at first glance but becomes visible once you mentally overlay the source and the result. When in doubt about a specific element, go back to the last accepted version rather than continuing to edit an image whose geometry has already drifted from the design.